Flyer Creation Workflow That Converts Fast
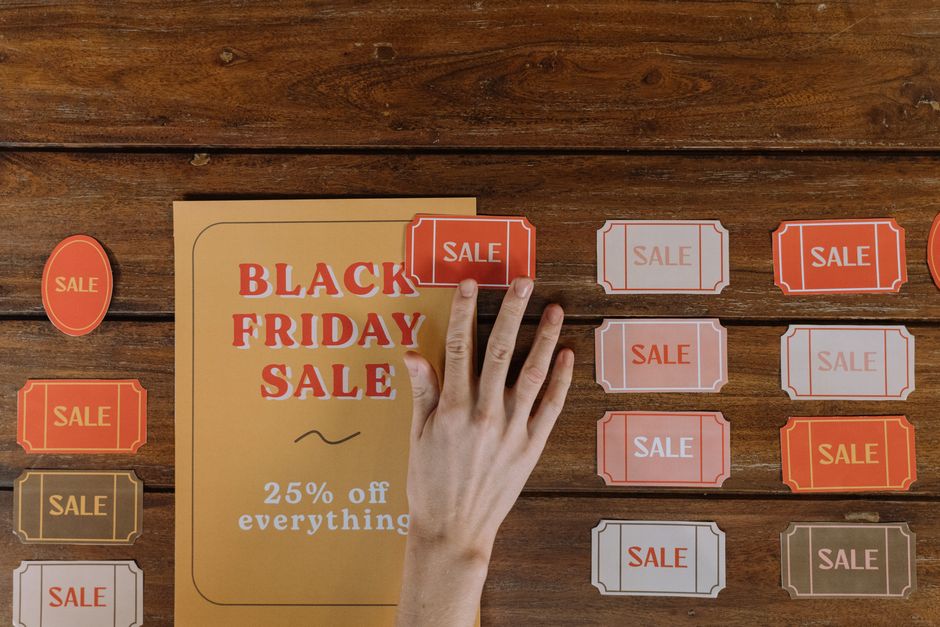
Flyers remain one of the most cost‑effective ways for local businesses to drive foot traffic and event sign‑ups. Yet most owners struggle to produce eye‑catching, print‑ready pieces without hiring a designer.

1. Audience Insight & Content Blueprint
Keyword‑Driven Headline Research

Start with Google Trends to spot seasonal spikes for your niche, then feed the top five terms into AnswerThePublic (https://answerthepublic.com) to uncover question‑style phrasing. Rank the results by search volume and click‑through potential, then craft a headline using power words like "Free," "Now," or "Limited." Test two variants on a 100‑lead email list and record open rates; aim for at least a 12% lift before finalizing. This data‑backed headline becomes the visual anchor of your flyer.
Benefit‑Focused Copy Framework

Apply the AIDA formula: grab Attention with the headline, spark Interest using a one‑sentence benefit, create Desire with three bullet‑point value statements, and finish with a clear Call‑to‑Action. Draft copy in Hemingway Editor (https://hemingwayapp.com) to keep readability at Grade 8 or lower, ensuring each bullet stays under 12 words. Insert a time‑bound offer (e.g., "Visit by Friday for 20% off") to boost urgency. Track response rates on a small test run; aim for a 5% conversion lift before scaling.
Visual Concept Moodboard

Create a Pinterest board and pin nine images that reflect the vibe you want—color, texture, typography style. Export the board’s URL, then run each image through Adobe Color (https://color.adobe.com) to extract dominant hex values. Consolidate the palette into a 5‑color scheme, ensuring contrast ratios meet WCAG AA (≥4.5:1). Use this moodboard as a visual contract for any designer or AI tool, guaranteeing every generated concept aligns with your brand aesthetic from day one.
2. AI‑Powered Design Generation
Prompt‑Engineered Design with DesignLumo
Write a precise prompt: "Create a 5x7 inch flyer for a local bakery, headline 'Fresh Croissants Today', include three benefit bullets, brand colors #D2691E and #FFF8DC, placeholder QR code at bottom right, layered PSD with editable text." Feed this into DesignLumo (https://www.designlumo.com) and let the AI output a fully editable file. Review layers, rename them for clarity, and export a PNG preview for stakeholder approval—ready for instant tweaks without starting from scratch.
Rapid Visual Exploration via Midjourney
Use Midjourney to generate background concepts by prompting: "retro bakery flyer, warm pastel palette, soft focus, --ar 5:7". Run three variations, select the most compelling, and download the 2K PNG. Import this image as the base layer in the DesignLumo file, then lock it. This hybrid approach merges AI‑crafted visuals with editable text layers, cutting concept iteration time from hours to minutes while preserving full design flexibility.
Template Hybrid in Canva
Open Canva (https://www.canva.com) and choose a blank 5x7 flyer canvas. Drag the PSD from DesignLumo into Canva, which automatically preserves layers as separate elements. Apply your Brand Kit fonts and colors, then lock the background layer to prevent accidental moves. Use Canva’s alignment guides to fine‑tune spacing. This method lets non‑designers make quick adjustments while still leveraging the AI‑generated foundation for brand consistency.
3. Precision Editing & Brand Consistency
Layer‑by‑Layer Text Refinement

Open the DesignLumo PSD in Photoshop. Select each text layer and replace the placeholder font with your brand typeface—e.g., Montserrat Bold for headlines (48 pt), Montserrat Regular for body (24 pt). Adjust kerning to 0.5 and line height to 1.2 for readability. Rename layers to "Headline", "Benefit1", etc., and group them. This systematic approach ensures any future edits keep hierarchy intact and speeds up hand‑off to printers or teammates.
Dynamic QR Code Integration

Generate a QR code that points to your reservation page using QR‑Code‑Generator (https://www.qr-code-generator.com). Set the foreground color to your brand orange (#D2691E) and background to transparent. Export as SVG, then import into the DesignLumo file as a vector layer. Position it within the bottom‑right safe zone, ensure at least 300 dpi for print, and run a quick scan test at 100% scale. This adds a measurable digital touchpoint to every printed flyer.
Color‑Proofing with Pantone Match
Take your RGB palette from the moodboard and input it into Adobe Color (https://color.adobe.com) to find nearest Pantone equivalents. Apply those Pantone values to your PSD layers, then open Photoshop’s Soft‑Proofing dialog with the "US Web Coated (SWOP) v2" profile. Aim for a ΔE < 3 across all critical colors. Export a proof PDF and send to your printer for a final check, guaranteeing on‑press color fidelity and avoiding costly re‑runs.
4. Export, Print & Digital Distribution
Print‑Ready PDF Export Settings
In DesignLumo, choose Export → PDF/X‑4. Enable "Embed All Fonts", set bleed to 0.125 in on all sides, and include crop marks. Convert all raster images to CMYK at 300 dpi, and ensure spot colors are retained for Pantone accents. Run Adobe Acrobat Preflight (PDF/A‑2b) to catch any compliance issues. This file will pass most commercial printers on the first try, cutting turnaround time by up to 48 hours.
Online Flyer Optimization for Social
Resize the PDF to 1080 × 1920 px in Photoshop, then export as JPEG with a quality setting of 80. Compress the JPEG using TinyPNG (https://tinypng.com) to stay under 150 KB without visual loss. Append UTM parameters to the CTA URL (e.g., utm_source=facebook&utm_medium=flyer) to track clicks. Schedule the post via Buffer, and monitor engagement; aim for a click‑through rate of at least 3% to justify the effort.
Local Print Order Automation

Upload the final PDF to Vistaprint (https://www.vistaprint.com), select 5×7 glossy stock, and order a baseline run of 250 copies. Enable the "Print on Demand" option for future reorders, which stores your artwork and reduces per‑unit cost to under $0.30 after bulk discounts. Set up email notifications for order status and use the tracking number to coordinate distribution. This automated pipeline lets you replenish flyers on demand without manual re‑uploads.
Before you go
- Always keep a master editable file in a cloud folder; version it weekly to avoid losing layers.
- Test QR codes at the final print size; a 0.75‑inch QR may fail scanning on low‑resolution printers.
- Batch‑generate multiple headline variations in DesignLumo and A/B test them on a small mailing list before committing to print.
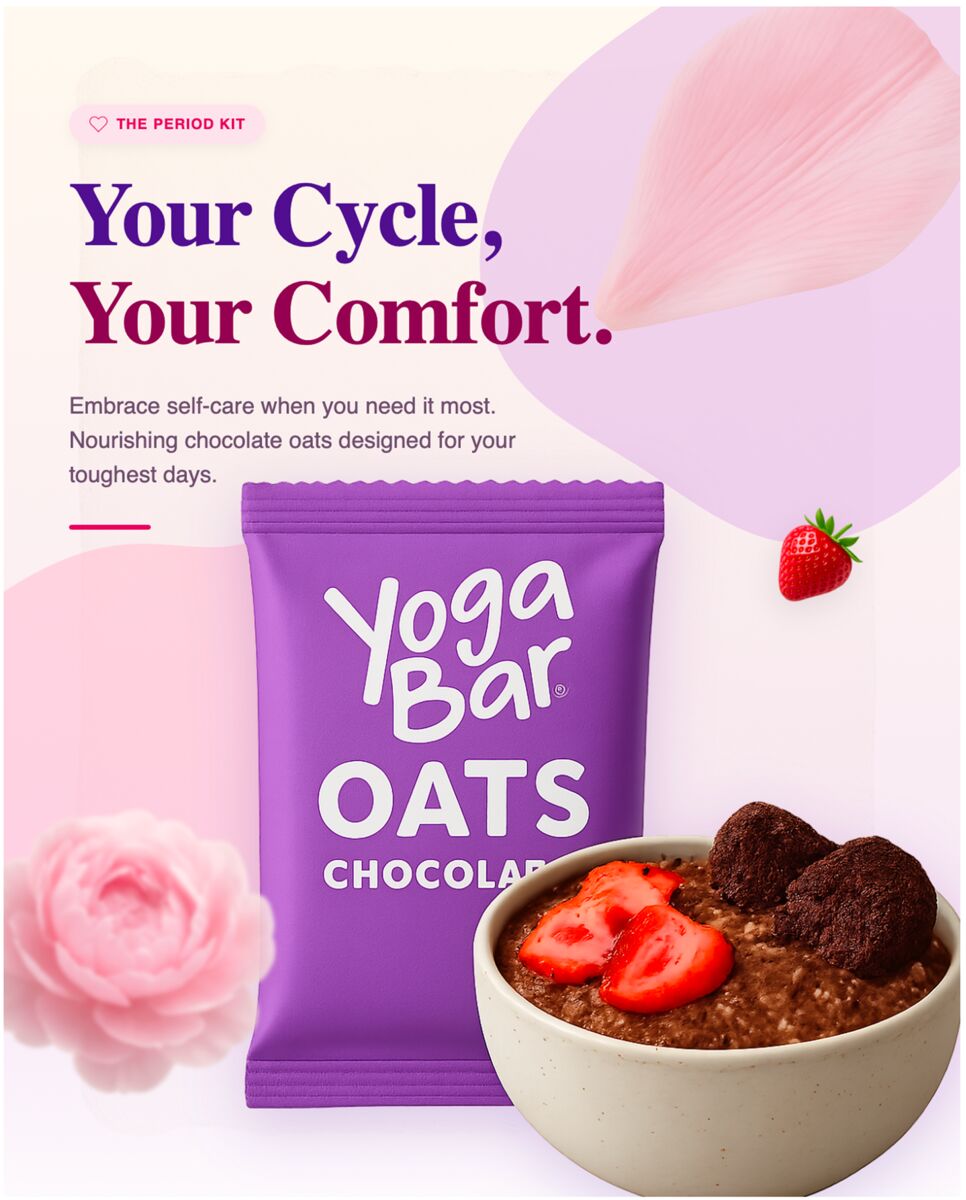
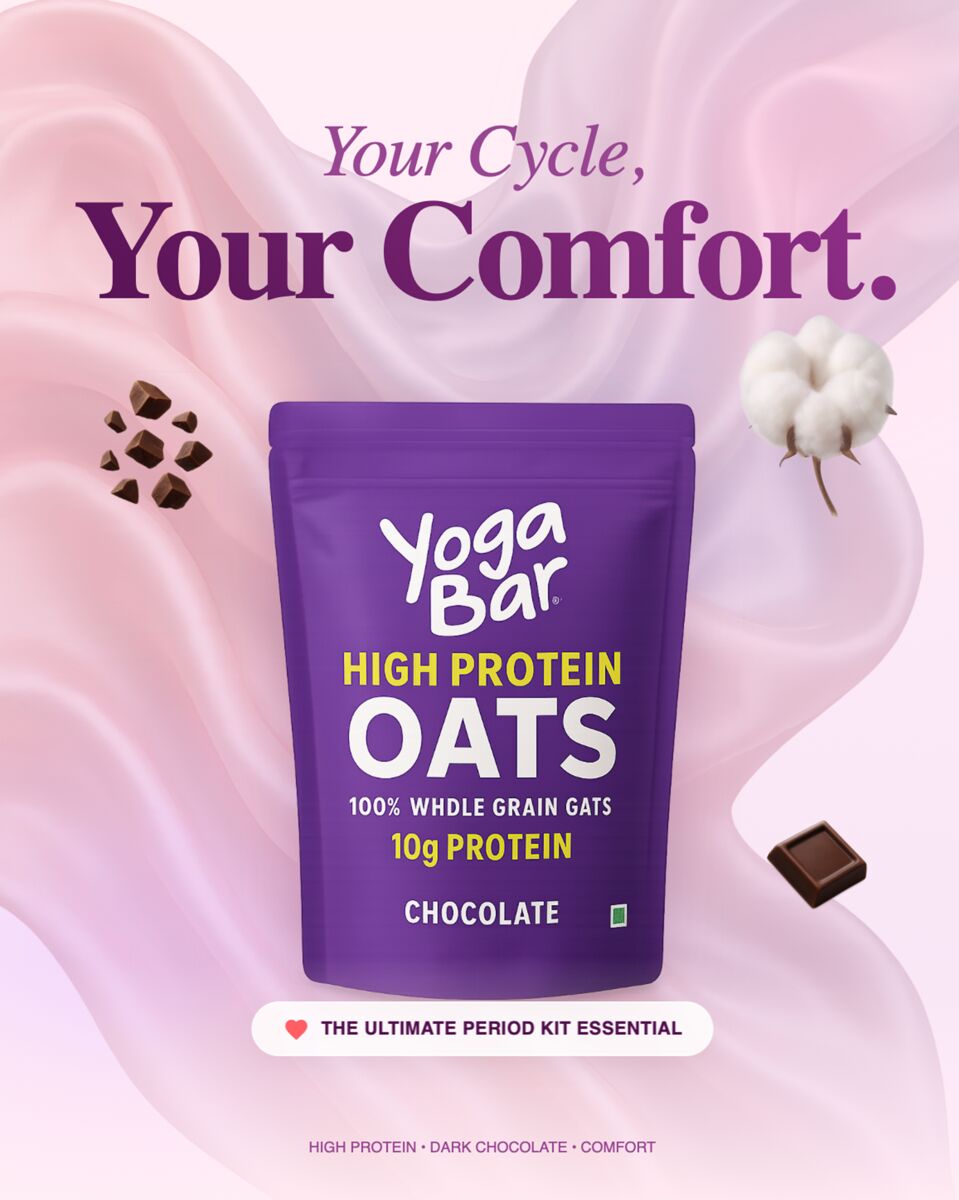
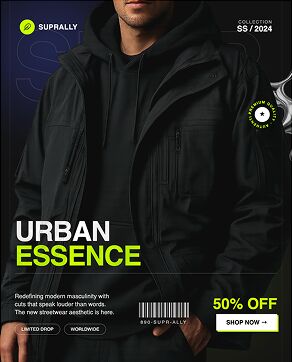
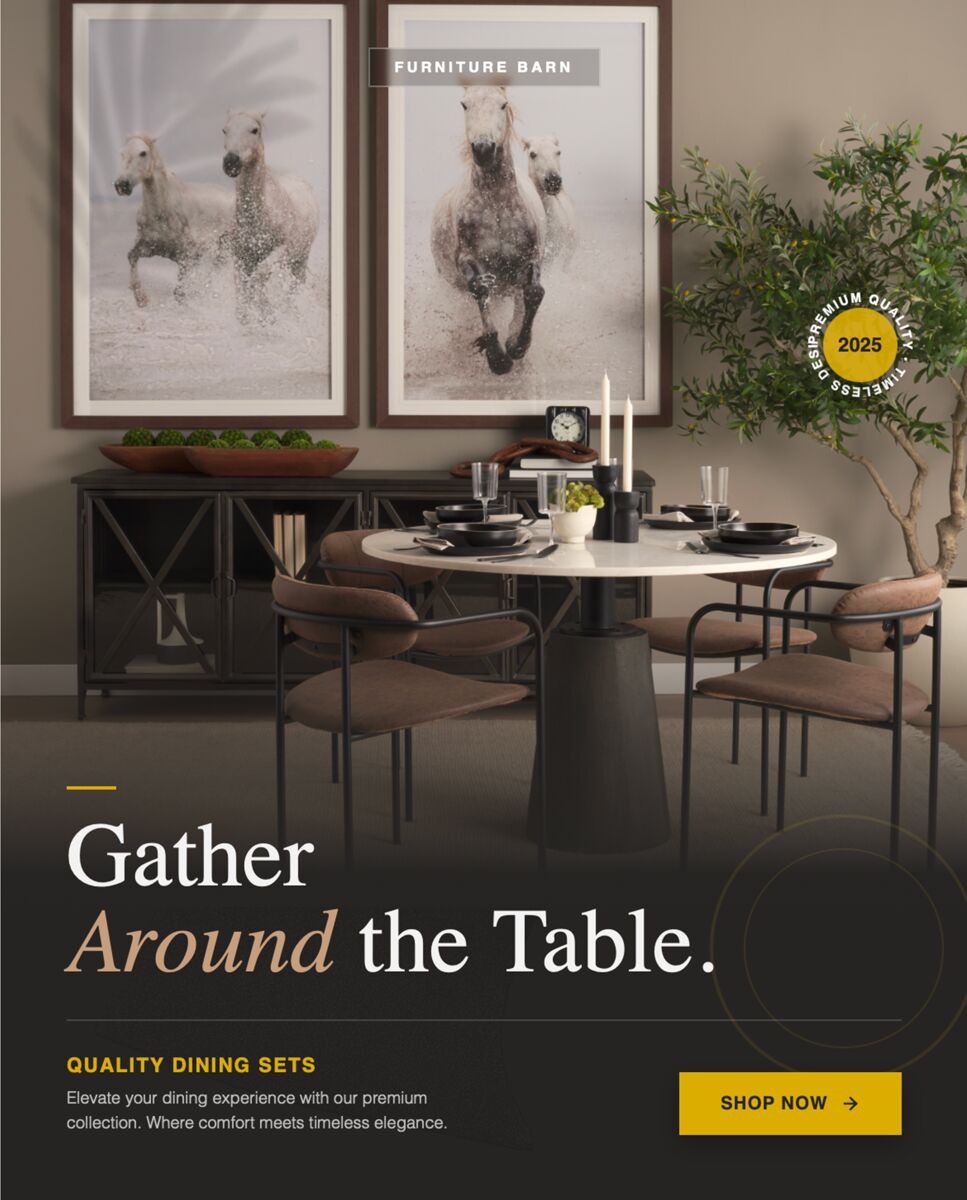

Ready to create your first design?
Join thousands creating professional designs in seconds.
Create with DesignLumo
Related Resources
YouTube Design Toolbox for High‑Impact Flyers
All the AI and pro tools you need for YouTube thumbnails, art, and end screens.
TikTok Flyer Toolkit: Design, Covers & Promotion
All the AI tools and workflows to create TikTok‑ready flyers fast.
Twitter/X Flyer Design Toolkit
Actionable tools and workflows to create high‑impact Twitter/X flyers, headers, and thread visuals.
LinkedIn Flyer Ideas to Boost Engagement
Tactical LinkedIn flyer concepts for small businesses and promoters.
Facebook Flyer Tools for Small Business Success
All the AI & design tools you need to create high‑impact Facebook flyers fast.
Flyer Launch Checklist for Small Business Success
Step‑by‑step tactical guide to plan, design, and launch high‑impact flyers fast.