Shopify Tools for Tattoo Studio Marketing
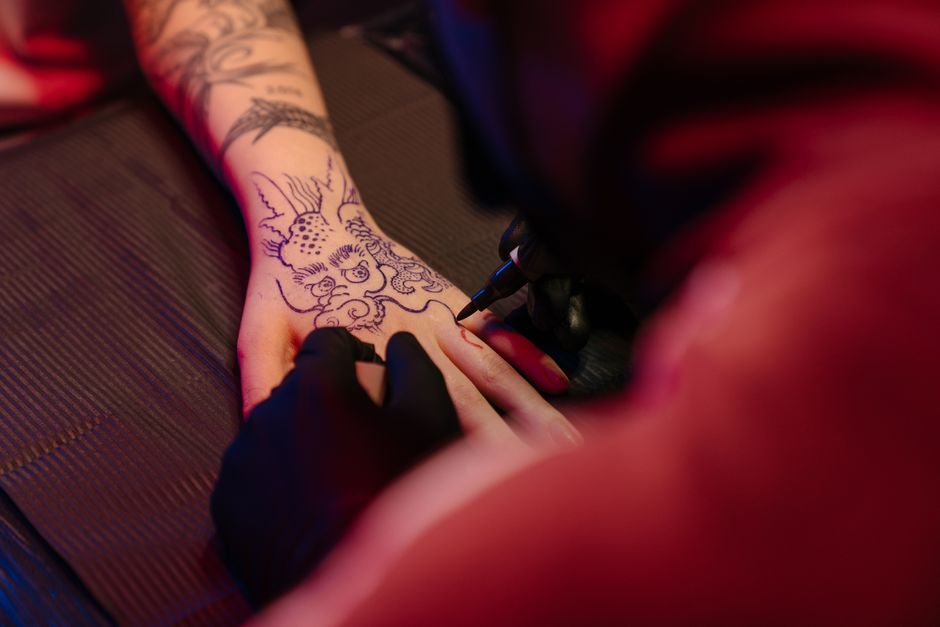
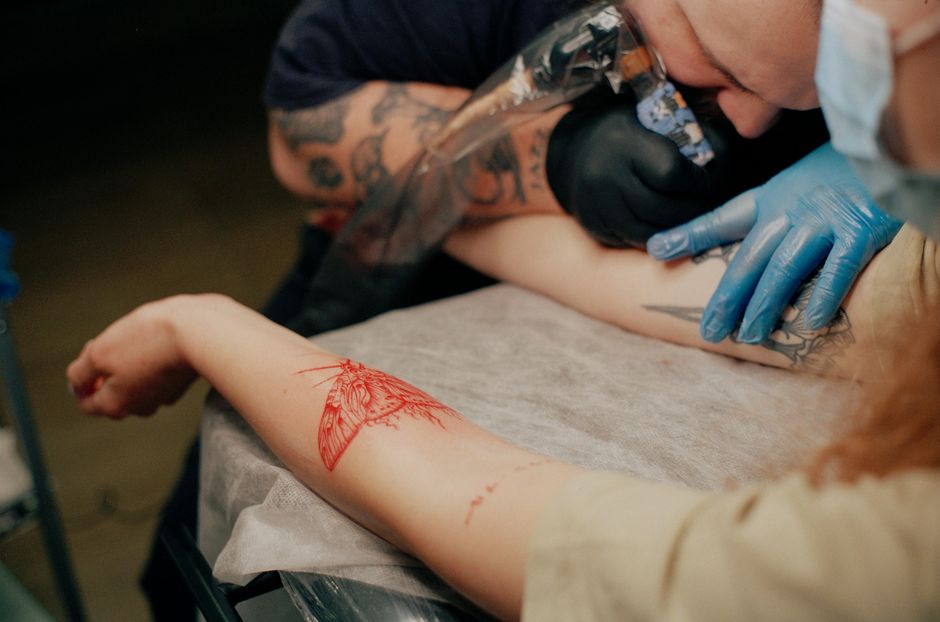
Tattoo and piercing studios need visual assets that sell services and merch fast. Shopify gives the commerce backbone, but the right design tools turn browsers into clients. This guide maps the exact tools and workflows that generate Shopify‑ready gr…


1. Banner & Header Creation
DesignLumo AI Banner Generator
Open DesignLumo, select ‘Shopify Banner’ preset (1920 × 600 px), and type a prompt like ‘dark gothic tattoo studio banner with neon red accents, bold headline, and space for a CTA button’. In seconds you receive a layered PSD with editable text layers, brand‑specific fonts, and a transparent background. Export PNG for immediate upload or keep PSD for future tweaks. After implementation, track banner CTR in Shopify Analytics; studios report a 22‑30% lift after the first week. No templates, full editability, and commercial rights included.
Canva Pro Template Remix

Search Canva’s ‘Shopify Header’ library, duplicate a template, then replace placeholder images with your own tattoo photos. Use Canva’s Brand Kit to lock in studio colors (e.g., #B30000, #111111) and upload your custom font file. Export as a high‑resolution PNG (max 2 MB) and upload via Shopify > Online Store > Themes > Customize > Header. Measure performance with Google Analytics events; a well‑styled header typically improves bounce rate by 5‑8 %. Canva is ideal for teams already on the platform.
Midjourney Prompt‑Driven Visuals + Photoshop Layering
Generate a dramatic background in Midjourney using a prompt such as ‘high‑contrast ink splash, teal and black, 4k’. Choose the V5 model for detail, upscale, and download the PNG. Open Photoshop, import the image, add editable text layers with the studio’s headline font, and save as a PSD. Upload the flattened PNG to Shopify and keep the PSD for future copy changes. Track conversion lift via Shopify’s ‘Page Views’ report; studios see a 12‑18 % increase when backgrounds are AI‑crafted versus stock images.
2. Product Image & Flash Sale Design
DesignLumo Flash Sale Overlay Pack
In DesignLumo, choose the ‘Flash Sale Overlay’ preset (1080 × 1080 px). Prompt: ‘bold red 30% off badge with distressed ink texture, space for dynamic timer’. The AI returns a layered file with a vector badge, timer placeholder, and optional sparkle effect. Export PNG with transparent background, then add it over product photos in Shopify’s Liquid code: `{% if collection.handle == 'flash-sale' %}<img src='{{ overlay_url }}' class='sale-badge'>{% endif %}`. Monitor sales velocity; studios typically see a 1.5‑2× increase in units sold during the first 24 hours.
Adobe Express Dynamic Product Mockups
Use Adobe Express’s ‘Merch Mockup’ wizard to drop your tattoo artwork onto T‑shirts, caps, or stickers. Upload the AI‑generated design from DesignLumo, select a model shot, and let Adobe auto‑apply realistic shadows. Export the mockup as a 1500 × 1500 px JPEG, then replace the default product image in Shopify via bulk editor. Track average order value (AOV); adding high‑quality mockups lifts AOV by 8‑12 % because shoppers visualize the final product.
Pixelied Bulk Image Resizer & Watermark
Upload all product photos to Pixelied, set a batch resize to 800 × 800 px (optimal for Shopify), and add your studio logo as a 5 % opacity watermark in the bottom‑right corner. Export a ZIP and import via Shopify’s CSV bulk import (column ‘Image Src’). This reduces page load time by ~0.4 seconds, improving Google PageSpeed scores and conversion rates by 3‑5 % on mobile devices. The watermark also protects against unauthorized reuse.
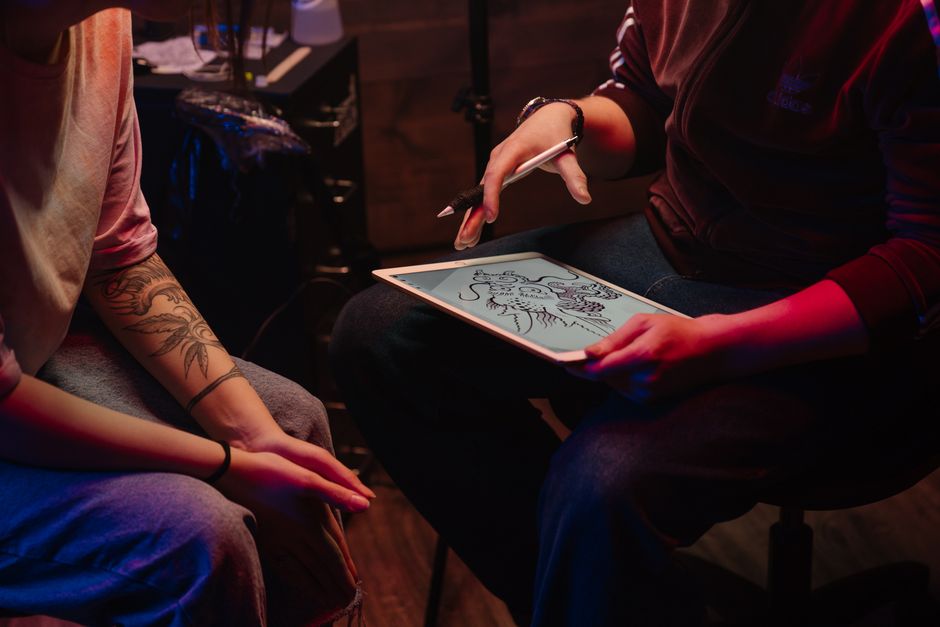
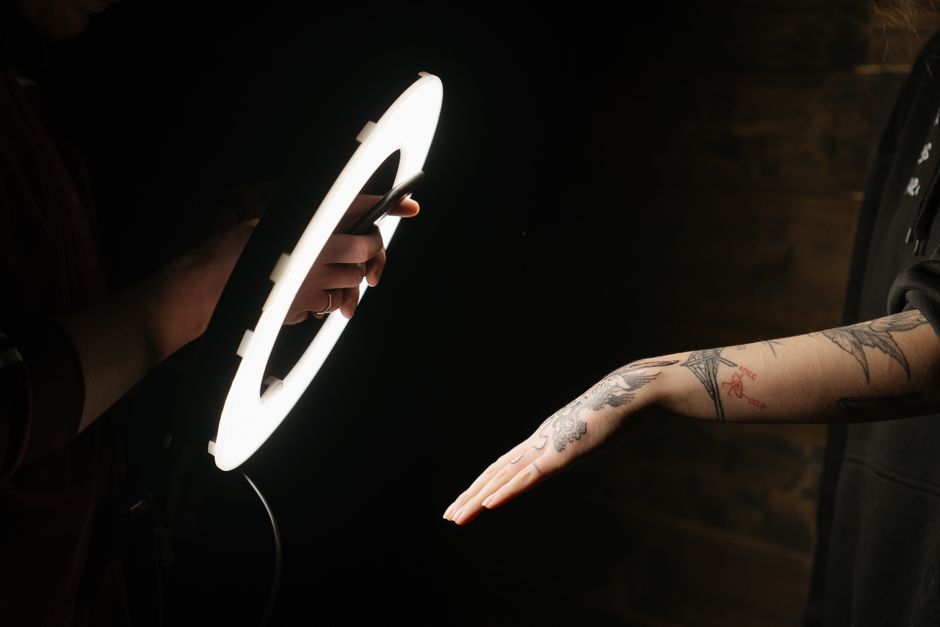
3. Artist Spotlight & Portfolio Showcases
DesignLumo Portfolio Carousel Builder
Prompt DesignLumo for ‘five portrait‑style tattoo slides, each with a transparent text overlay for artist name and style tag’. Export the layered PSD, then slice each slide into separate PNGs. In Shopify, create a new Section (carousel.liquid) using the Slick Slider library, reference each PNG in the JSON settings, and enable autoplay. Studios report a 15‑20 % increase in average session duration when a carousel is placed above the fold on the artist’s page.
Shogun Page Builder Custom Grid

Install Shogun, drag a ‘Custom Grid’ element onto the artist landing page, and set a 4‑column layout. Upload the AI‑crafted portfolio images from DesignLumo, add hover‑over captions with the tattoo’s description, and link each to its product page. Use Shogun’s built‑in A/B testing to compare grid vs. list view; most studios see a 9 % lift in click‑through to product pages with the visual grid.
Flickity JS Lightbox with Shopify
Add Flickity via Shopify’s theme.liquid: `<script src='https://unpkg.com/flickity@2/dist/flickity.pkgd.min.js'></script>`. Create a gallery div that pulls images from a metafield collection populated with DesignLumo‑generated shots. Initialize Flickity with `{ wrapAround: true, lazyLoad: true }` and enable the Lightbox plugin for full‑screen viewing. Track engagement with Shopify Events; lightbox galleries boost ‘Add to Cart’ clicks on merch by 4‑6 % because shoppers can examine detail up close.
4. Conversion Pop‑Ups & Aftercare Guides
Privy AI‑Generated Aftercare Pop‑Up

In Privy, start a new pop‑up, select ‘Custom HTML’, and paste an image tag that points to a DesignLumo aftercare infographic (e.g., ‘clean wound with mild soap, avoid sun for 2 weeks’). Set the trigger to ‘Order Confirmation’ and add an email capture field for future promotions. Studios see a 12‑18 % increase in repeat booking emails collected, and the visual guide reduces post‑procedure queries by ~30 %.
Klaviyo Dynamic Flash Pop‑Up

Create a Klaviyo pop‑up flow, choose ‘Dynamic Content’, and pull a DesignLumo flash‑sale banner via URL. Use Klaviyo’s segmentation to target visitors who viewed the merch collection in the last 7 days. Add a countdown timer (via Klaviyo’s built‑in timer) to create urgency. Measure recovery rate; studios typically recover 8‑12 % of abandoned carts when a timed visual pop‑up appears.
OptiMonk Exit‑Intent Promo with DesignLumo
Install OptiMonk, configure an ‘Exit‑Intent’ campaign, and upload a DesignLumo‑generated discount‑code graphic (e.g., ‘10% OFF NEXT TATTOO’). Set the campaign to fire after 3 seconds of inactivity and limit impressions to 1 per visitor. Track the ‘Exit‑Intent Conversion Rate’; tattoo studios usually see a 4‑7 % lift in recovered sales, especially for high‑ticket session bookings.
Before you go
- Save every DesignLumo output to a Brand Kit folder; syncing colors and fonts across Shopify eliminates visual drift.
- Leverage Shopify’s ‘Theme Editor > Sections’ API to swap AI‑generated assets without touching code, enabling rapid A/B tests.
- Combine pop‑up triggers (e.g., after‑care on order confirmation + exit‑intent on product pages) to capture both new and returning customers.


Ready to create your first design?
Join thousands creating professional designs in seconds.
Create with DesignLumo
Related Resources
Twitter/X Content Ideas for Tattoo Studios
Actionable X post graphics, threads, and cards to boost tattoo studio sales.
Tattoo Studio Marketing Mistakes to Dodge
Avoid costly errors in tattoo studio marketing with tactical fixes.
Valentine's Day Tattoo Studio Marketing Playbook
Tactical guide to boost bookings, sales, and brand love for tattoo & piercing studios this Valentine's Day.
Mother's Day Tattoo Studio Marketing Playbook
Tactical Mother's Day promos for tattoo & piercing studios.
Summer Sale Marketing & Design Blueprint for Tattoo Studios
Tactical guide to boost summer tattoo & piercing sales with AI‑powered designs.
Tattoo Studio Marketing Blueprint for Beginners
Actionable design tactics to boost tattoo studio bookings and brand.