Faster Client Approval: A Practical Workflow
Cut YouTube agency approval cycles from weeks to days with a step‑by‑step workflow for thumbnails, channel art, and community graphics.
Map every hand‑off: production → thumbnail draft → client review → revisions → final upload. Note where the loop stalls—usually the “draft → review” stage.

1. Diagnose the Approval Bottleneck
- Track timestamps in your project board (e.g., Asana, ClickUp).
- Log the number of revision cycles per asset.
- Identify assets that consistently need more than one round.
If you can’t measure the delay, you can’t cut it.
2. Standardize the Creative Brief
A one‑page brief eliminates guesswork. Include video title, target keyword, brand colors, font hierarchy, and a clear CTA for the thumbnail.
- Title & hook phrase
- Primary & secondary colors (pull from the brand kit)
- Preferred text hierarchy (e.g., bold headline, smaller sub‑text)
- Reference examples that hit the desired CTR range
3. Generate AI‑First Mockups for Instant Options
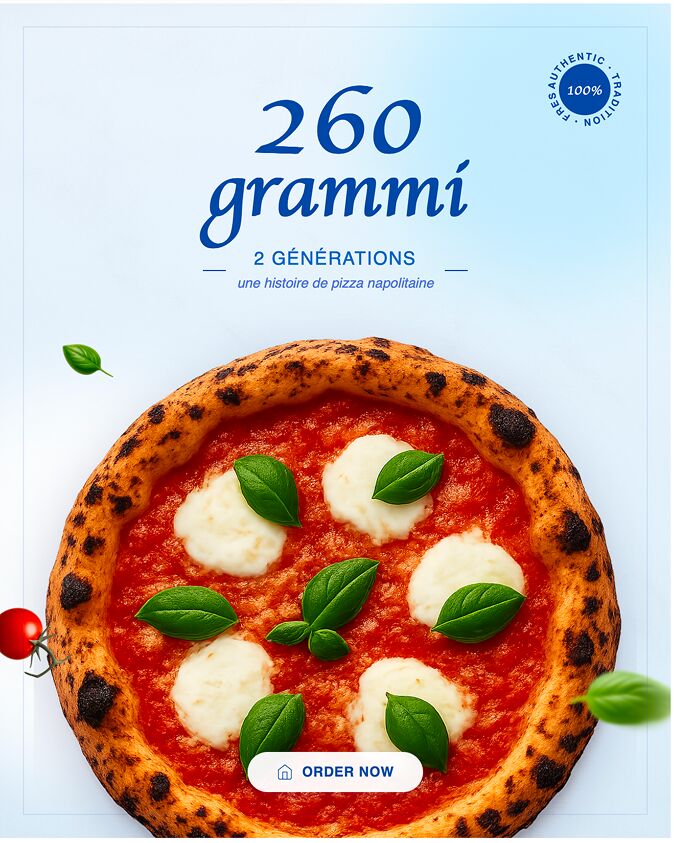
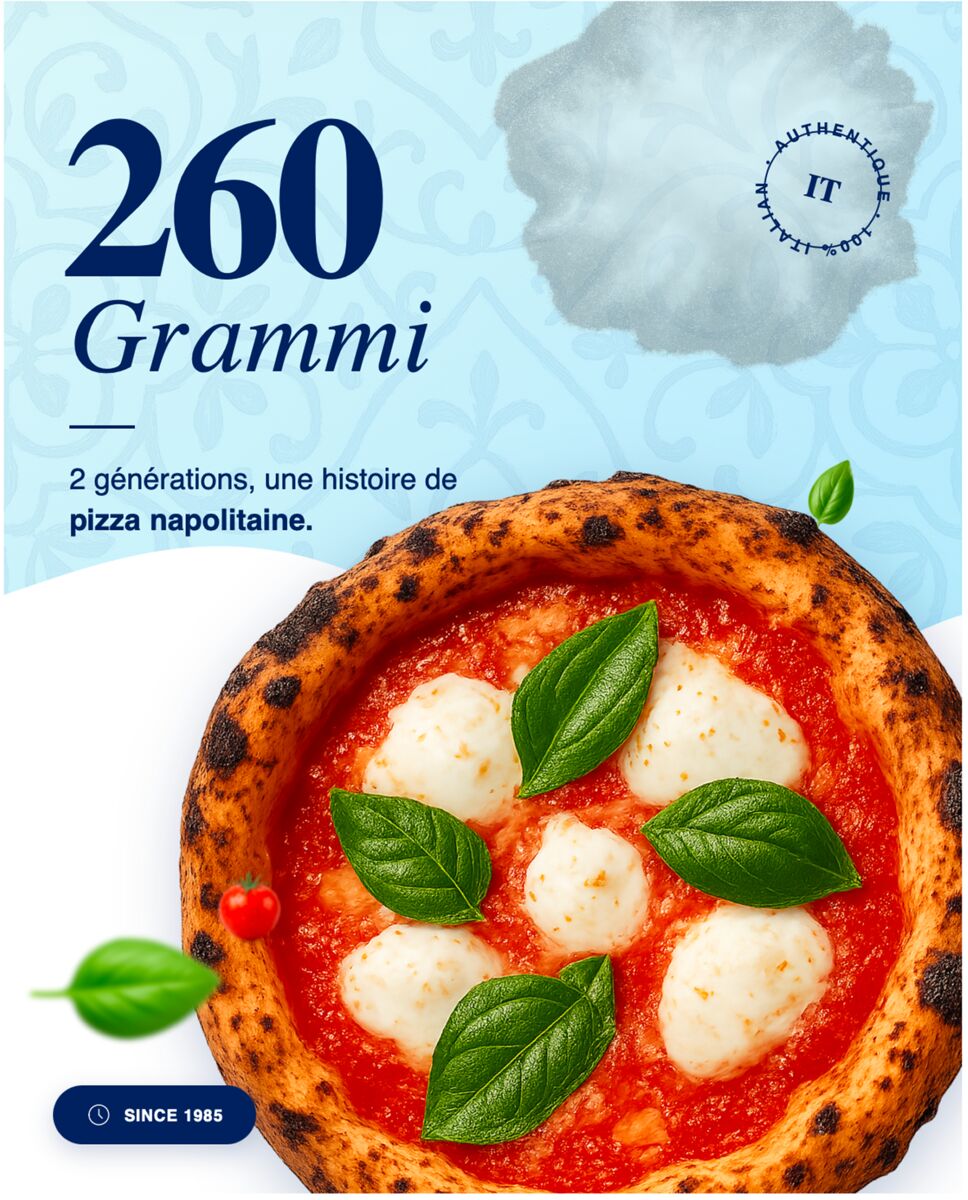
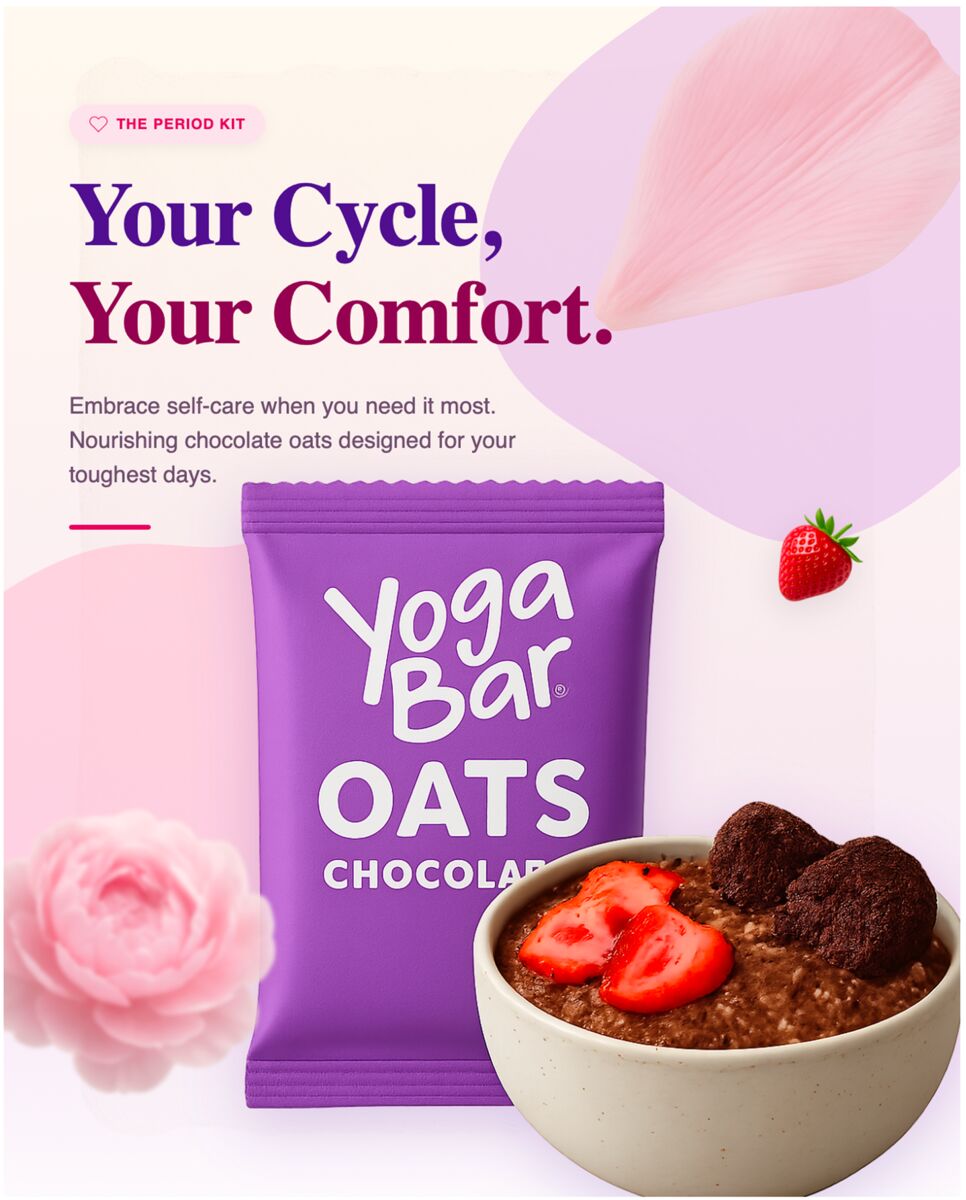
Before opening Photoshop, spin up three layered thumbnail concepts in seconds with DesignLumo’s AI Marketing Design. The output is fully editable, so you can tweak copy or color without starting from scratch.
Because the files come with proper layers, you can instantly swap a brand logo or adjust contrast to meet the brief.
4. Use a Structured Presentation Deck
Create a one‑page PDF that places each thumbnail variant side‑by‑side with the brief checklist. Add a simple “Pros/Cons” bullet for each—focus on contrast, readability, and relevance to the video hook.
- Variant A – high contrast, bold headline
- Variant B – brand‑centric, lower contrast
- Variant C – text‑only, strong CTA
Clients approve faster when they see the decision criteria laid out.
5. Close the Loop with a Dedicated Feedback Form
Use a Google Form or Typeform that asks for only three inputs: “Approve”, “Revise – what?”, and “Reject – why?”. Attach the PDF to the form so the client can annotate directly.
Set an SLA (e.g., 24 hours) in your project board and automate a reminder if the form isn’t submitted.
6. Automate the A/B Test Hand‑off
Once a thumbnail is approved, duplicate the final layered file, rename it with a test suffix (e.g., _v1, _v2), and upload both versions to TubeBuddy’s A/B testing module.
- Export PNGs at 1280 × 720.
- Add each PNG to the “Thumbnail A/B Test” queue.
- Schedule the test to run for 48 hours and let the data decide.
7. Measure, Iterate, and Document
After the test, pull CTR data from YouTube Analytics and record the winning variant in a shared “Creative Wins” sheet. Note the brief elements that correlated with higher CTR.
- Headline length under 30 characters
- Contrast ratio > 4.5:1
- Brand logo positioned in the lower‑right corner
A documented pattern turns each new thumbnail into a data‑driven win.
Topics covered
Create with DesignLumo









Ready to create your first design?
Join thousands creating professional designs in seconds.
Related articles
Writing Agency Case Studies That Win New Clients for YouTube Growth Agencies
Learn how YouTube growth agencies can build ROI‑focused case studies that showcase thumbnail CTR lifts, channel art upgrades, and revenue impact to attract high‑value clients.
Pricing Creative Services: How to Stop Undercharging for YouTube Growth Agencies
Learn value‑based pricing for thumbnail, channel art, and community graphics. Stop undercharging YouTube agencies and boost profit margins.
Productized Creative Services: Packages That Sell Themselves
Learn how YouTube growth agencies can turn thumbnail, channel art, and community graphics into productized creative packages that sell themselves and boost CTR.